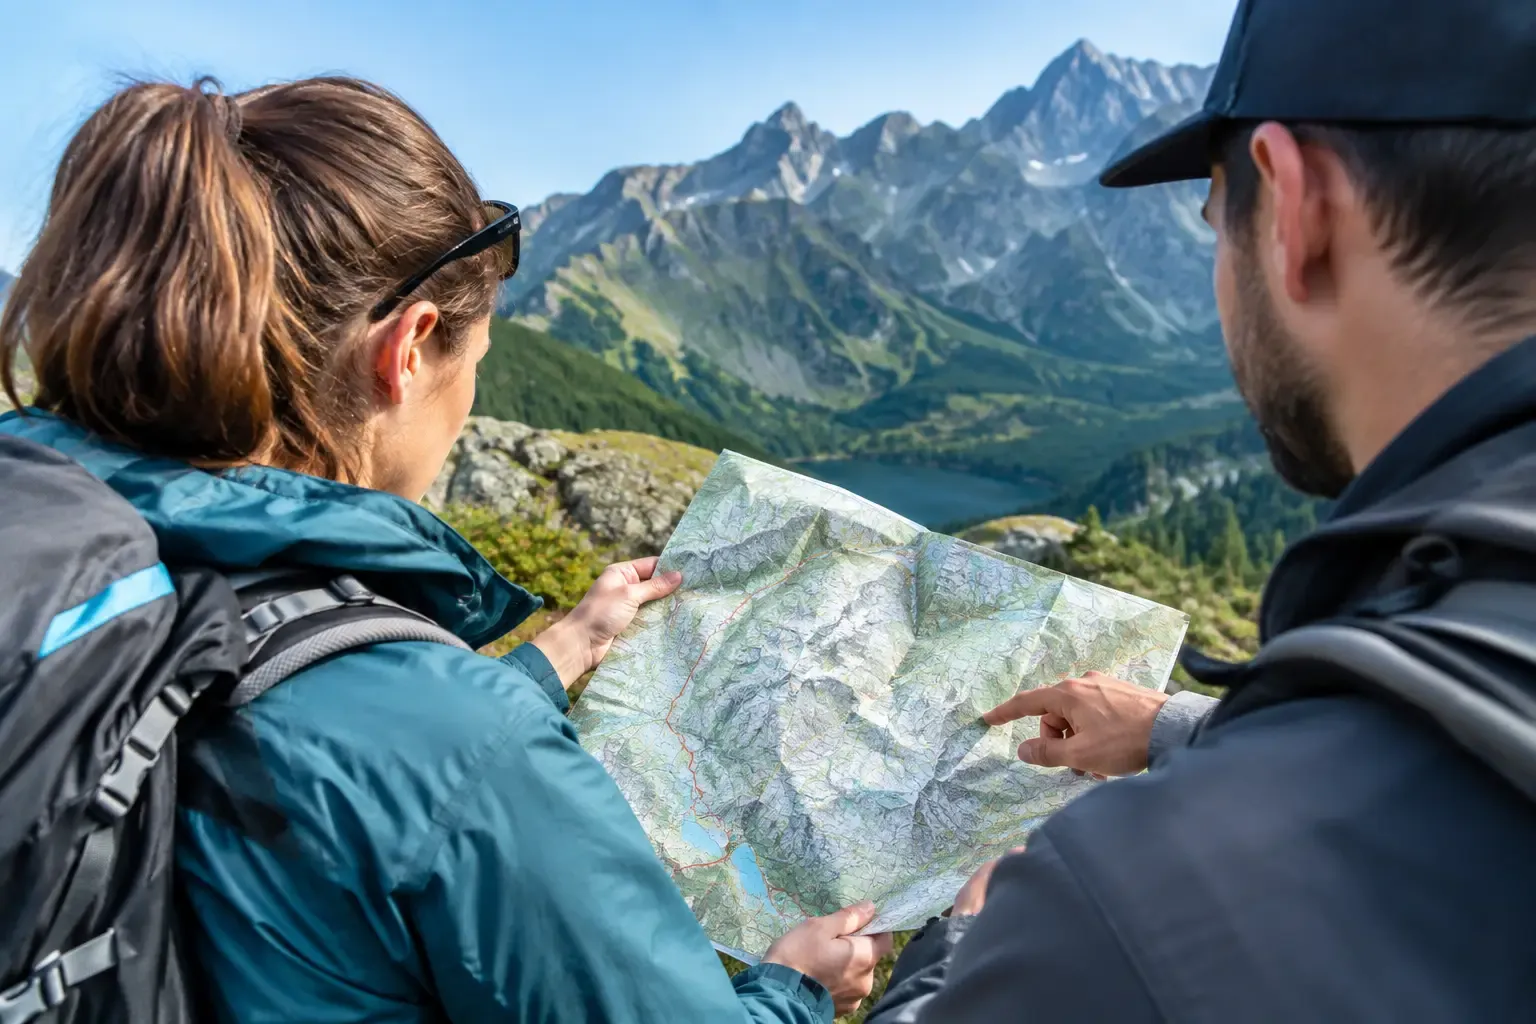
Fog is dropping onto the pass, the phone shows 8 percent battery, and at the junction three people are holding the same map and three different ideas about where to go next. This is not the moment to learn from scratch. It pays to know how to read a Tatra tourist map before you leave the valley and signal stops being something you can take for granted.
A map is not a prop for a photo at the hut, and it is not a paper extra for the app. Used well, it tells you whether you will beat the storm, whether the climb is actually right for the person walking with you, and whether the planned shortcut ends in a few hundred metres of vertical. In the Tatras that knowledge is what separates an ambitious day from a stupid one.
How to read a Tatra tourist map from the basics
Start with three things: the scale, the legend, and the network of trails. The scale tells you how much ground fits on the sheet or the screen. On popular Tatra tourist maps, 1 cm can mean 250 or 500 m on the ground, depending on the scale. The difference looks harmless, but across a full day it becomes very concrete.
The legend is small, but do not skip it the way people skip the rules on a car park sign. That is where you learn what marks the huts, shelters, car parks, springs, the state border, roads, cable cars, reserves, and sections with fixed aids. Symbols are often similar between publishers, but not always identical. If you see a chain symbol or a one-way section, do not assume it is decoration.
Hiking trails are marked above all by colour. Red, blue, green, yellow, and black are not a difficulty scale. A red trail is not automatically hard, and black does not mean a route for commandos. Colour identifies the line of the route. Red often follows a long main trail, but that is a convention, not a promise of an easy stroll.
You read the difficulty from the shape of the ground, the length, the exposure, and the description of the section. A walk through Dolina Kościeliska can share a colour with a ridge stretch that, in rain and wind, stops being fun. Colour says where to go. It does not say whether you should go there that day.
Check the direction, not only the goal
On a signpost you see the name of the destination and a time. On the map, check which places the route actually passes, and where you have a way to turn back. “Get to the summit, then somehow get down” is not a plan. In the Tatras the descent is often slower, slipperier, and mentally harder than the climb.
Set checkpoints too: a hut, a pass, a trail junction, a lake, or a distinctive bridge. When you know roughly where you are every hour, it is easier to notice early that the pace does not match the plan. Do not save that diagnosis for 17:30, when the car park is still three hours away and the light is going fast.
Contour lines show where the map stops being a stroll
Contour lines are thin lines joining places at the same height. To a beginner they look like a tangle, but after a while they become the best forecast of effort. When the lines sit far apart, the ground is gentler. When they squeeze into almost one dark stroke, you have a steep climb, a steep path down, or a wall you will not cross off the trail.
Check the contour interval in the legend: the height difference between successive lines. If it is 20 m and you cross fifteen of them between two points on the route, you have about 300 m of ascent ahead. That is simple arithmetic, and it works better than optimism after an espresso in Zakopane.
Look not only at the total ascent, but at how it is spread out. A route with 800 m of climbing can be a pleasant, steady valley ascent, or a series of brutal steps that leave you finished before noon. The contours will show whether, once you reach the goal, you get a calm descent or another climb to a pass.
Watch the shape of the lines. A pattern like the letter V usually marks a valley or a gully, and a bulging arc marks a ridge. That helps you set the map against the ground. If the stream is on your left and the map says it should be on your right, do not argue with reality. You are most likely walking the opposite way from the one you think.
Walking time is a guide, not a contract
On the map you will find walking times between points. They are usually given for the direction of travel, without long breaks, a photo every five minutes, or a queue at the chains. Treat them as a reference, not a guarantee that you will be back for lunch.
If the map says 3 hours to the hut and after 90 minutes your group is not even halfway and keeps stopping, recalculate the day. Not because you are weak. The pace of a group is set by the slowest or least confident person, especially on the way down.
Add breaks, conditions, and a margin for mistakes to the time on the map. In heat, on snow, after rain, and in a big crowd, the pace can drop sharply. In summer the queue for the chains on a popular section can look like a human snake. In winter the same line on the map is often a completely different route, not the summer trip in a prettier frame.
Symbols you cannot ignore
On a good map you will notice more than a coloured line. A hut means a chance to rest, and sometimes food and a bed, but do not treat it as a rescue point that is open for everyone, all the time. A car park symbol does not mean a free space either, especially on a July weekend.
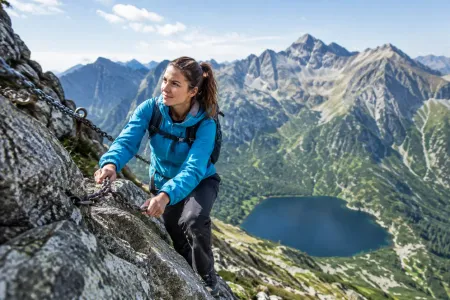
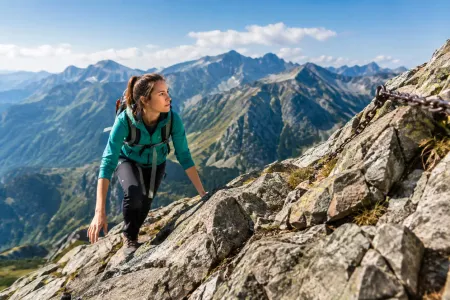
Pay particular attention to marks for chains, rungs, ladders, exposure, and one-way sections. Chains are not an attraction for everyone. Wet rock, a heavy pack, a fear of heights, or someone unused to the terrain can turn a short stretch into a stop for the whole group.
On the Slovak side of the Tatras, read the map just as carefully for huts, park boundaries, and the hour-by-hour plan. There, a day out more often depends on how you get there, where you park, and how long the valleys are. Do not assume that every border crossing, or every variant drawn on an old map, will actually be open.
Paper, phone, and setting the map to the ground
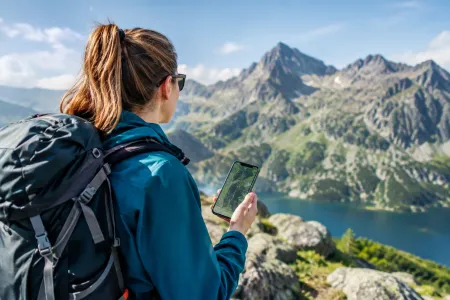
A location app is excellent until it stops working. A paper map needs no battery, no signal, and no cooperation from a phone that has just hit the rocks. The sensible approach is to use both at once: the phone for where you are right now, the paper map for the shape of the whole route and the backup plan.
Before you start, set the map to the points of the compass. You do not have to jump straight into taking bearings. It is enough to match the valley, the ridge, the lake, or your direction of travel to what you see in front of you. An ordinary compass helps, but on a sunny day the position of the sun and the distinctive summits will give you a basic orientation too.
Do not follow the blue dot blindly, though. GPS will show your position. It will not tell you whether you still have the strength, whether a storm is building, or whether a wet, exposed section makes sense today. A map is a tool for a decision, not an alibi for a bad one.
Rehearse the route at home
The evening before you go, trace the route with a finger from the car park to the goal and back again. Note the starting height, the highest point, the longest climb, the places to rest, and two ways to shorten the day. Check where the trail splits as well. That is exactly where people most often turn with confidence, at speed, and completely wrong.
A good habit is a turnaround time. If you are not at the key point by the hour you chose, you turn back or take the shorter option. The summit is not going anywhere. A storm, dusk, and tired legs, on the other hand, can turn up with surprising punctuality.
The most common mistakes when reading a Tatra map
The first mistake is judging a route by the kilometres. Seven kilometres along a flat valley and seven kilometres over passes are two different sports. The second is ignoring the ascent, because on a screen the whole loop looks innocent. The third is looking only at the signposts, without checking that they put you on the right variant.
The fourth mistake is especially expensive: planning the day only as far as the goal. You still have to get back, and on a loop you need a clear idea of which way to take the harder section. Sometimes it is better to climb the steep side while your legs are fresh, and come down the gentler way. Sometimes the other way round. It depends on the weather, the experience, and how fit the group is.
A map will not turn anyone into a climber, but it gives you something more useful: a chance not to be caught out. Take it on the next trip, stop at the first junction, and compare the lines with the real valley. After a few moments like that, the Tatras will still be big. They will just stop being anonymous.

 2026-10-04
 2026-09-22
 2026-10-12
 2026-10-13
 2026-10-10
 2026-10-09
 2026-10-08
 2026-10-07
 2026-10-06
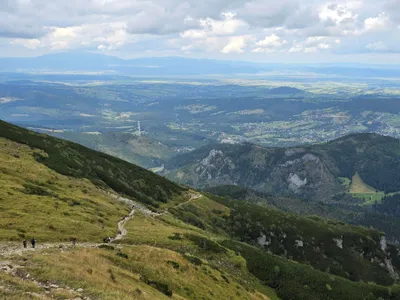 Distance: 18.5 kmDuration: 8 h 09 min
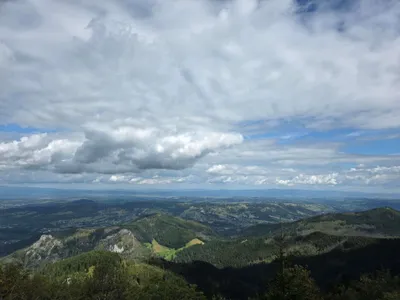 Distance: 15.6 kmDuration: 8 h 27 min
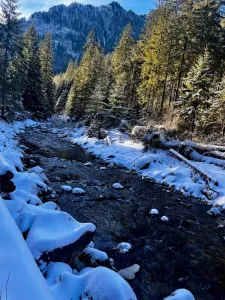 Distance: 11.1 kmDuration: 2 h 59 min
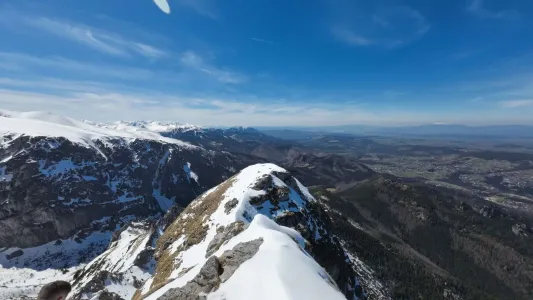 Distance: 6 kmDuration: 3 h 15 min
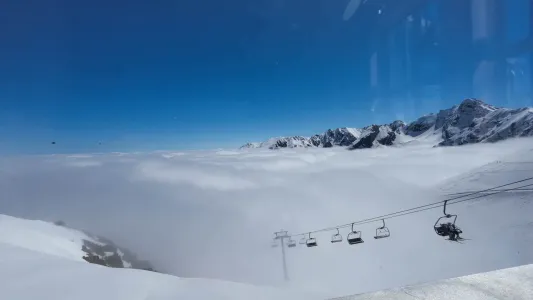 Distance: 12.9 kmDuration: 5 h 31 min