gear
Microspikes or crampons for the Tatras? Choose the kit with your head
Microspikes or crampons for the Tatras? Match the kit to the snow, the ice and the route. Check the fit on your boots, and the moment to turn back without hesitation.
How to choose trekking poles for the Tatras? Check the length, the material, the lock and the tips before a valley, a pass, or a wet descent.
Author: Konrad Leśniak7 min read
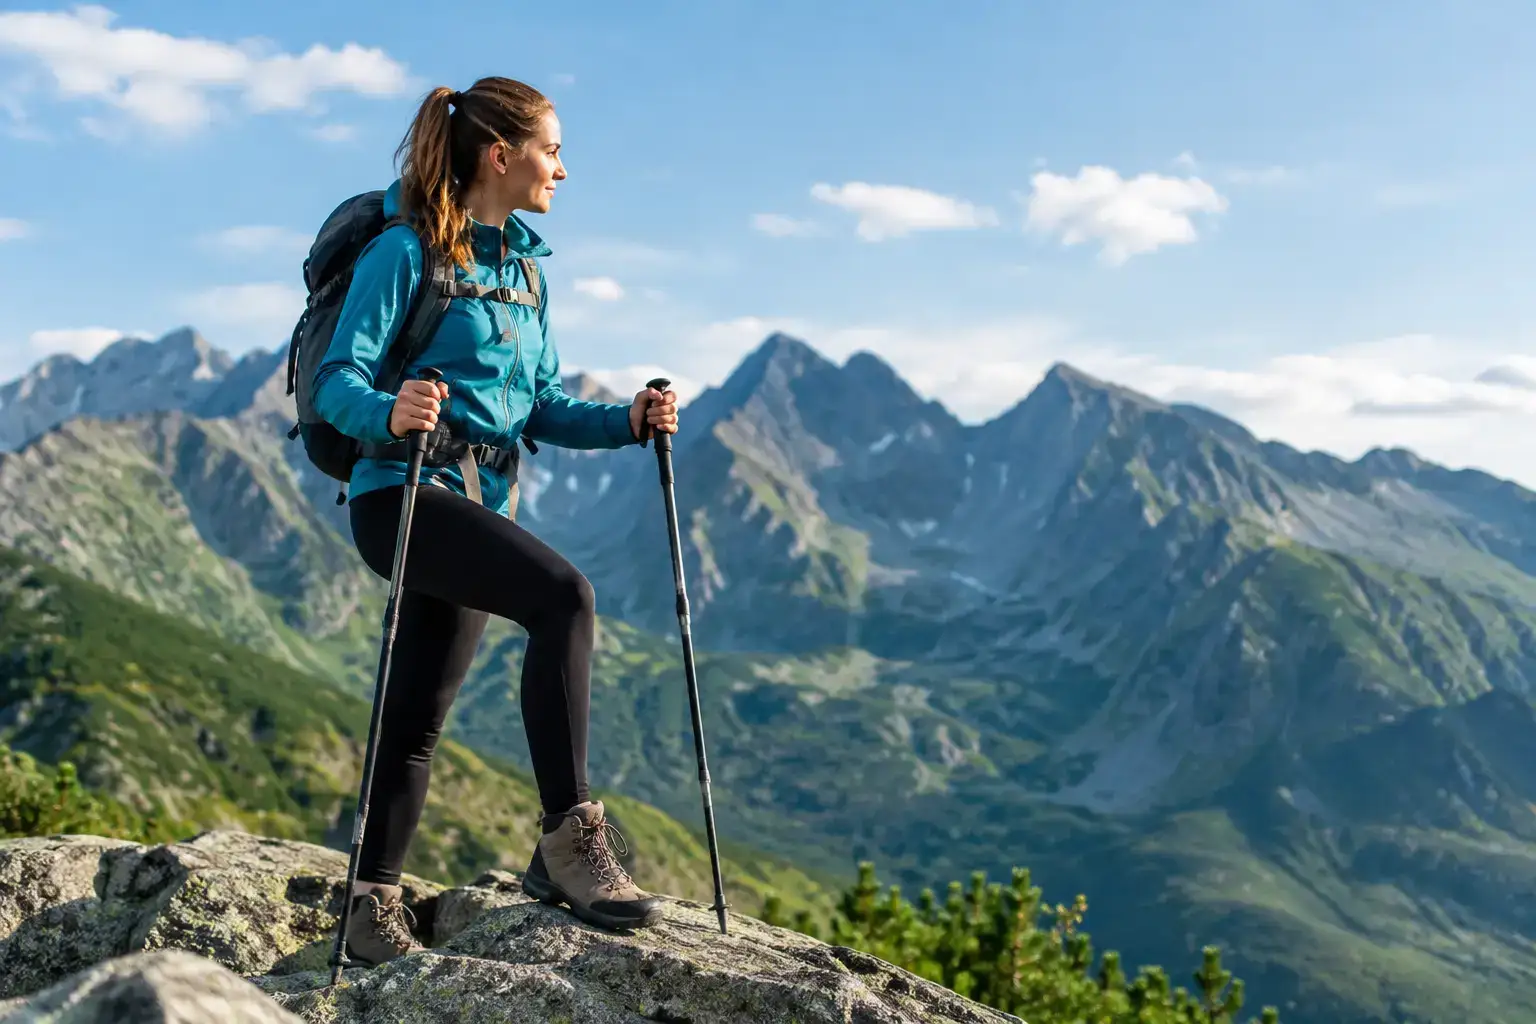
On the way down from Rysy, Kozi Wierch, or even Hala Gąsienicowa, your knees quickly remind you that gravity is merciless. So the question of how to choose trekking poles for the Tatras does not come down to picking a colour and the lowest price. Good poles genuinely take weight off your legs, improve balance on wet rock, and give a more confident step with a heavy pack. Bad ones will rattle, collapse in your hands, or get in the way more than they help.
The Tatras are not the place for kit bought only so it looks good in a photo at Morskie Oko. A trail can start as an easy road and, two hours later, turn into a steep, slippery puzzle of stones, roots and mud. Choose poles for those changes, not for a stroll along the promenade.
First, answer where you are actually going. On Dolina Kościeliska, Dolina Chochołowska, or the way to Popradské pleso, poles are mainly support for your pace and your knees. You do not need an ultralight model made of space-age materials then, but length adjustment and a reliable lock still matter.
On longer and steeper routes - Czerwone Wierchy, Orla Perć, Roháče, Rysy from the Slovak side - the demands grow. The poles take a beating on a long climb, and even more on the descent, when your legs are already tired and you start looking reluctantly at every next step. What counts then is durability, stability, and the chance to shorten one pole quickly on a traverse.
There is an important “but”. Poles are not a magic pass onto a hard trail. They will not replace fitness, boots with a sensible sole, or the decision to turn back in a storm. On sections protected by chains you usually have to stash them or clip them to the pack, so your hands are free. Trying to cross an exposed section with poles dangling under your arm is asking for trouble.
To set the length, stand on flat ground, grip the handle, and plant the tip by your foot. The elbow should make roughly a right angle. That is a starting point, not a holy rule carved on Giewont.
On the way up, poles are usually shortened by about 5-10 cm. You do not have to lift your shoulders and plant them unnaturally far ahead. On a steep descent it is worth lengthening them by a similar amount, so you can reach lower with some stability and you do not lean too far forward.
On a traverse, different lengths help: the pole on the uphill side shorter, the one on the valley side longer. It sounds like a detail for people who count the ascent to the metre, but after a few kilometres of a sloping, wet hillside you really feel the difference. If you are buying poles for a shorter person, a child, or a very tall partner, check the minimum and maximum adjustment range first. A universal model will not be universal for everyone.
Telescopic poles are made of sections that slide into each other. They are very practical for Tatra days, because you can change the length easily while you walk. Good models with an external lever lock are quick to adjust, including in gloves and with cold fingers.
Folding Z-poles are lighter, take up little space once packed, and they tempt people who count every gram. They work very well on fast, long trips. They usually have a smaller adjustment range, or almost none. If you walk a mix of ground, from valleys to steep passes, a classic telescopic pole will be the safer, more versatile choice.
Aluminium is a sensible choice for most people planning the Tatras. The poles are a little heavier than carbon, but they are usually cheaper and they cope better with an accidental sideways load. When an aluminium section bends, you can sometimes still get it usable, or replace it. That is not pretty, but the mountains are not always pretty, especially after three hours of rain.
Carbon wins on weight and it damps vibration well. You will appreciate it when you do long routes and often carry the poles in your hands. It has a weaker side: overloaded at one point, it can snap suddenly. A pole wedged between rocks and a hard yank is a scenario that happens in the Tatras more often than the advertising photos suggest.
There is no single answer for everyone. Someone who walks a few times a year on easier routes can choose aluminium without worry. Someone who does long traverses, has good technique, and wants to cut the weight of the kit can pay extra for carbon. Do not buy carbon at the expense of proper boots, a waterproof jacket, or a headlamp. The priorities for a mountain day are fairly brutal.
On adjustable poles, the lock matters most. An external clamp is simple to check, quick to adjust, and easy to service. Before you leave, press the pole hard into the ground. If a section collapses, do not expect it to suddenly grow a backbone on a steep descent.
Internal twist locks can work well too, but they tend to be more temperamental in mud, damp, and after many seasons. For a first set for the Tatras I would choose a model with solid external clamps. Less elegant theory, more certainty when your foot slides on a wet slab.
A foam grip sits well in the hand and works in warmer weather. Cork is pleasant, it wicks moisture well, and it usually appears on more expensive models. Rubber is durable, but in summer it can heat up and slip in a sweaty hand. It is worth holding the poles in the shop, ideally in thin gloves too, if that is what you walk in.
The straps are not for tying your wrist in tight. You put your hand up through the strap from below, and the strap rests between the thumb and the index finger. Part of the weight then goes through the strap, and the grip can stay looser. On easy paths that is a matter of comfort. On a steep descent, when your hands are tired, the difference becomes very concrete.
For Tatra rock, choose carbide tips. They resist wear and hold well on hard ground. Rubber caps are useful on asphalt, at a mountain hut, or on the walk through town. Take them off on the trail. On wet rock, rubber often slips more than you expect.
Small trekking baskets stop the pole sinking into soft ground, leftover snow, or mud. In winter you need larger baskets, but do not fit them in summer only because they were in the box. They will catch on roots and rocks.
Before you buy, check whether the maker offers replacement tips, baskets and sections. Poles are kit that wears out. A tip will wear down eventually, a basket will fall off somewhere, and one pole can take a knock in a crack. The chance to repair them is worth more than another flashy graphic.
Skip the cheapest poles with no information about the material, the lock, and available spare parts. They may survive a few walks, but on a steep descent you do not want to test whether the stated load rating was the manufacturer’s wish. Watch out too for models as heavy as a broom handle, with plastic grips and thin straps. After a full day you will curse them every time you lift them over a rock.
Do not buy poles only by the height on a chart either. Check them in your hands, fold them, open them, adjust the clamp, and see whether they fit alongside the pack. If they will spend most of the day strapped on the outside, the packed length matters. Especially if you use public transport, a crowded minibus to the trail, or you have a small pack.
Before the first more ambitious route, set the length, learn how the locks work, and walk with the poles in a park, a forest, or on a local hill. In the Tatras, the first fight should be with the climb, not with your own kit. And when, on a wet descent, you feel the poles working steadily under your hands, remember: still look at your feet. Even the best model will not save someone who got lost in the view and put a foot in the wrong place.
Newsletter
A few times a year: trail conditions, closures, the best time to go and new routes. No weekly spam.
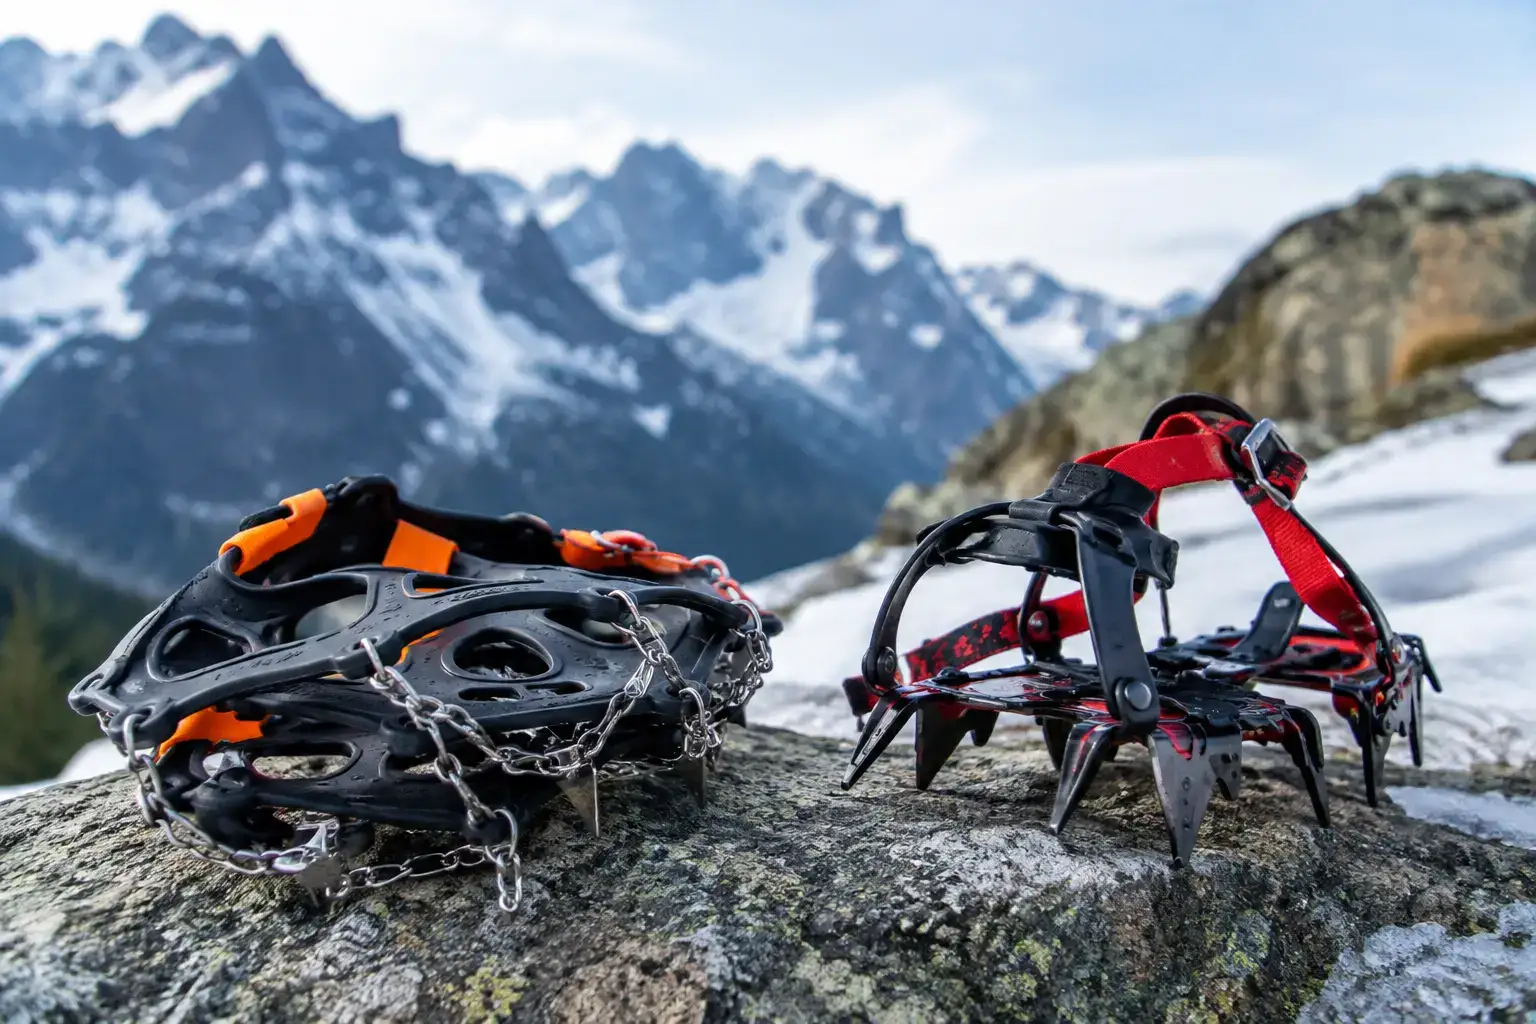
Microspikes or crampons for the Tatras? Match the kit to the snow, the ice and the route. Check the fit on your boots, and the moment to turn back without hesitation.
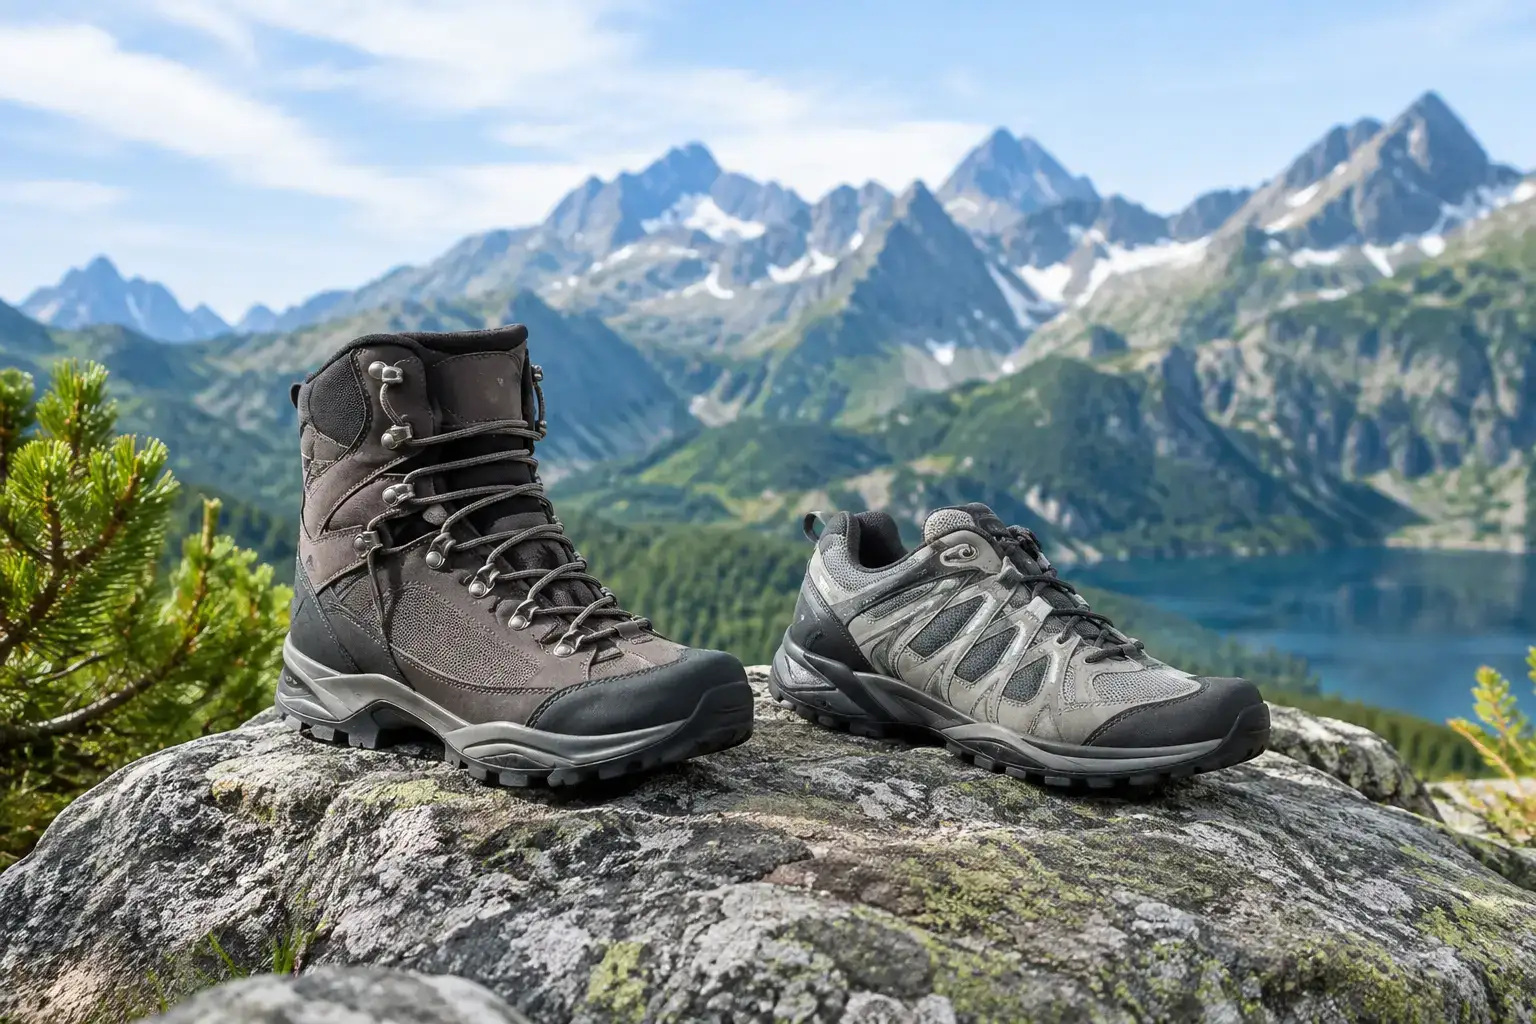
High boots or low shoes for the Tatras? See when the ankle needs support, and when a lighter shoe makes more sense on a Tatra trail.
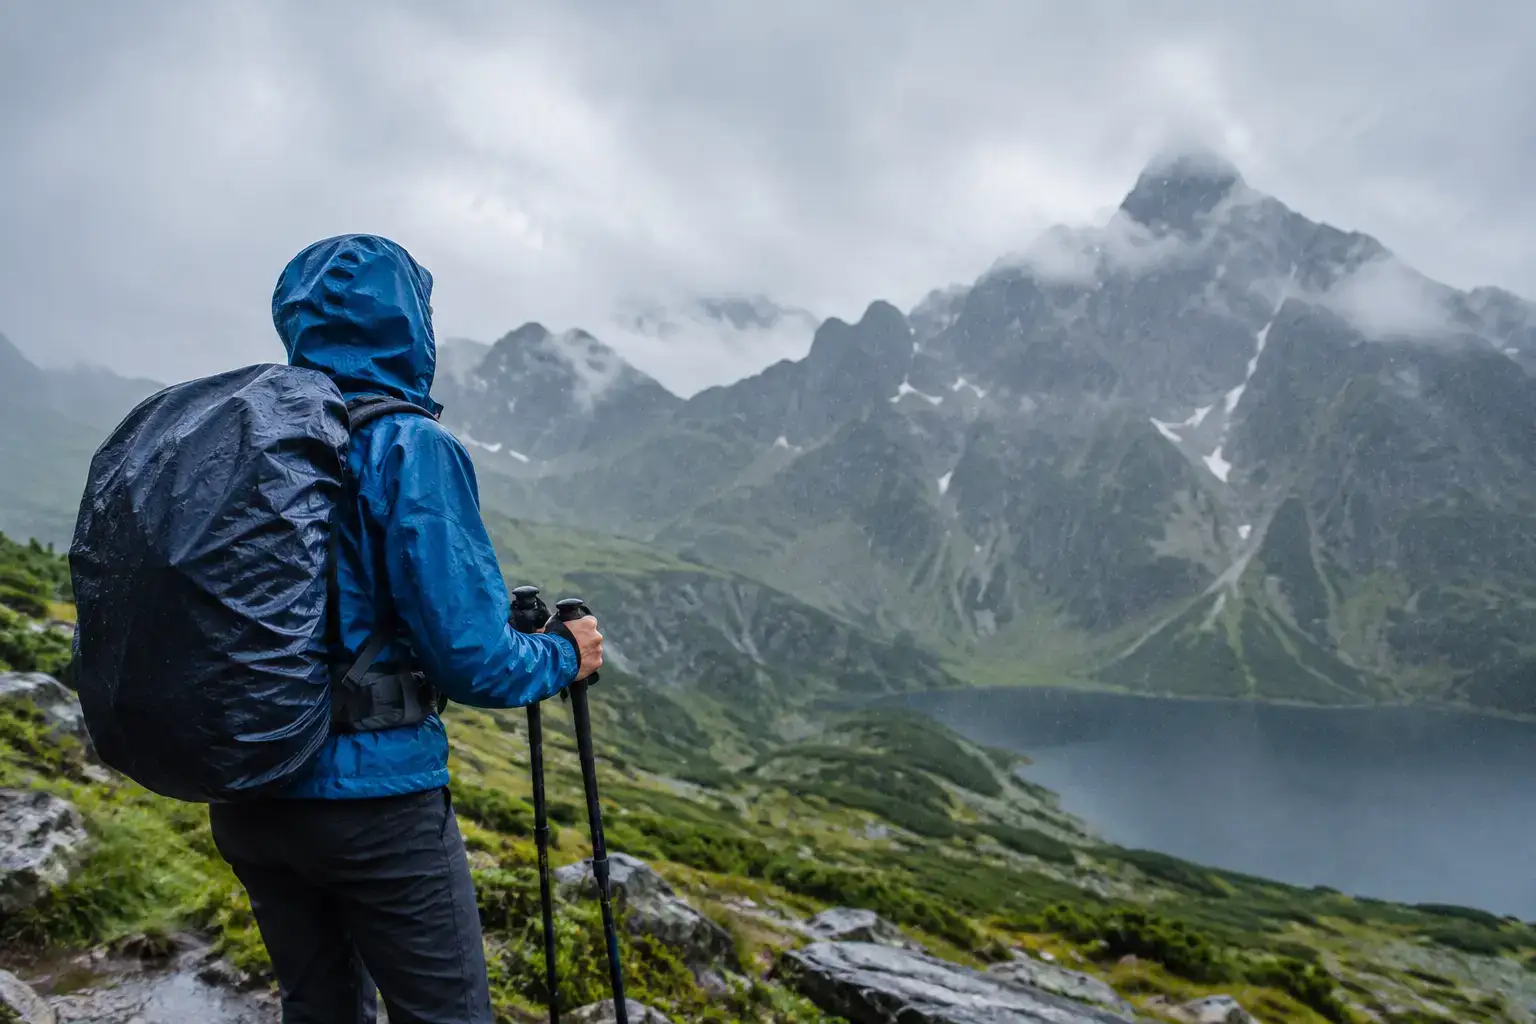
Hiking in the rain in the Tatras: safety, gear and decisions that help you get back without stupid risk, getting chilled, or wet frustration on the trail.